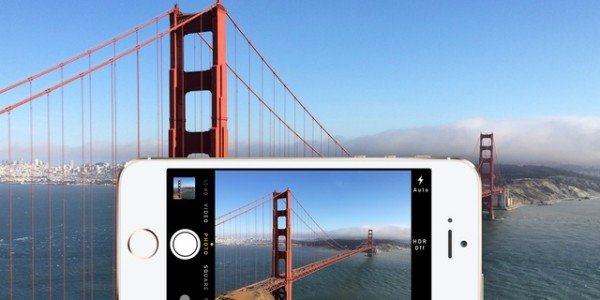
Sometimes it doesn’t matter how better your iPhone camera is, if you lack basic skills you won’t be able to take good pictures. So, if you want to take better photos, these iPhoneography tips will have you snapping pro-standard photos in no time. Find out how to use built-in editing tools and improve your skills of photography.

Let’s get started, launch the camera app, once it is open you’ll see a range of controls under the main photo frame: Time-Lapse, Slow-Mo, Video, Photo, Square, and Pano. There are also controls at the top to toggle the flash and HDR modes, set a timer and flip the camera for a selfie. The tips are as under;
Use Hardware Shutter
Ypu don’t need to use the big onscreen button to take the shot when you can use the physical volume buttons on the side of your iPhone. This is handy if you’re holding the phone at an awkward angle. The pressing of real or onscreen button to take a shot can shake the camera at the very instant you want it to be still, so it will ruin your effort. You can go better with selfie sticks.
Timer button
With timer button you can set a self-timer of 3 or 10 seconds, the button can be seen at the top of the screen (or left in landscape). You’ll see the numbers come up on the screen as it counts down. On our iPhone 5s the phone automatically took a burst of 10 photos. This feature is your need when you have the facility to set up your iPhone on a platform and you can step away from it to take a photo. Now lots of third-party manufacturers coming out with tripods for the iPhone. To take a selfie on a timer tap the dial, choose the time(seconds), tap the shutter button and then run in to shot.
Focus and Exposure
Common and important feature of smartphone camera is you can tap somewhere on the screen to focus. When you’re in the Camera app tap somewhere to tell your iPhone specifically where to focus, it works even if faces are prioritized but this also sets the exposure. The iPhone’s automatic exposure tries to balance the bright backlight and the dark subject but if you tap on them, it knows what you want to prioritise, so it makes the scene brighter.
A concept called exposure compensation is an idea that you let the camera decide how best to expose the scene, but then you give it a nudge to better reflect the shot you want to take. You can do this on an iPhone, tap on your subject, then drag the little brightness (sunburst) symbol next to the focus square up to make the picture brighter, or down to make it darker.
Using Time-lapse mode
Apple introduced a slow-mo option in iOS 7 but the time-lapse mode added in iOS 8 is even more appealing, taking photos at what Apple calls “dynamically selected intervals” to create videos. To take a Time-lapse video, swipe all the way to the right on the Camera app’s display, past video and slow-mo. Tap the record button and the app will automatically take a still picture every few seconds.
When you’re finished, tap the red button again. The app will stitch all those pictures together to form a time-lapse video.
For the best results, make sure the iOS device is completely still.
Panorama
Panorama was introduced to the iPhone in iOS 6, is a terrific camera feature for creating big, artistic shots of grand landscape vistas. To find, swipe across to the right, past Photo and Square, until you reach Pano. Tap the shutter button and then move your iPhone from left to right across the image you wish to capture while trying to keep the device as steady as possible.

It is preferred to hold the iPhone in portrait orientation. It’s possible to take a panorama while holding the device in landscape mode, but you’ll have to move it from top to bottom or from bottom to top, and you’ll wind up with an elongated portrait shot.
