It’s been a while Android O Developer Preview was released. Pixel user Sachi315 has finally discovered a way to root Android O Developer Preview on the Google Pixel and Pixel XL. The method involves installing Android 7.1.2 Nougat on one of the partitions and Android O on the other. This allows Android O to boot even after installing SuperSU. The process is little time taking but I’ll make sure that you get it done fast and without complications.
Before you begin:
- Backup all your Important data because this process will erase everything.
- Charge your device at least more than 60%.
Files to Download
TWRP RC1 bootable image & RC2 Flashable zip
Latest ADB and fastboot binaries
Windows: platform-tools-latest-windows.zip
Mac: platform-tools-latest-darwin.zip
Linux: platform-tools-latest-linux.zip
How to Set up the fastboot binaries
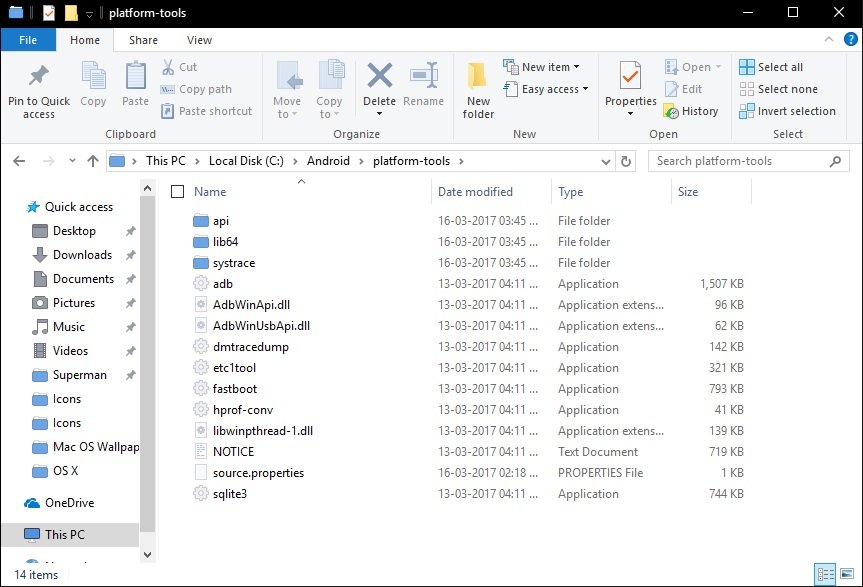
Extract the fastboot/ADB binary folder “platform-tools” and place it in the C: drive inside a folder named Android.

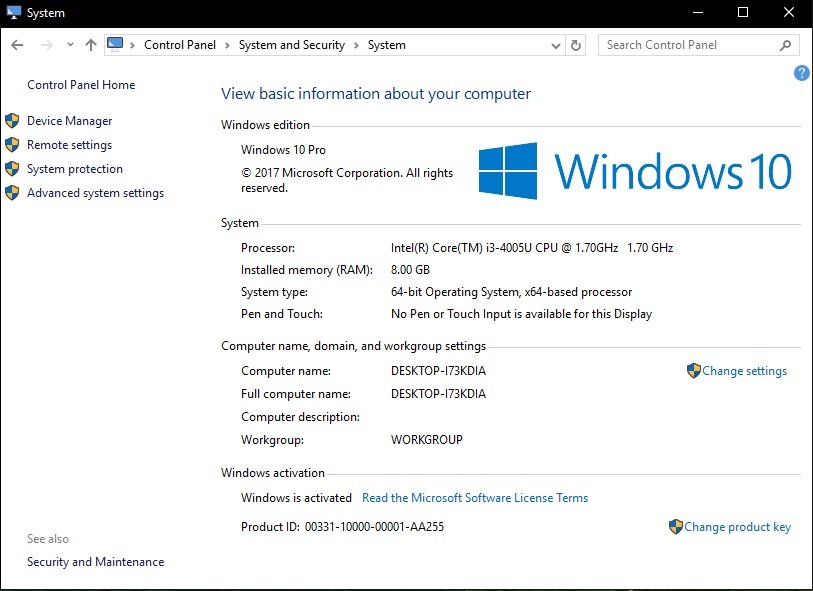
Go to Control Panel > System and Security > System.
Under Computer name, domain, and workgroup settings click Change settings.

Click on the Advanced tab then at the bottom click Environment Variables.

Double-click Path under the System Variables section.
Click New and put in the location of the platform-tools folder earlier extracted. Press Enter, OK again and reboot your PC.
The latest ADB and fastboot binaries should now be installed on your PC. To check if it installed correctly, open command prompt.
Edit flash-all.bat in Android 7.1.2 and Android O factory images
Extract the image file into a folder.
Find the flash-all.bat file in the extracted contents and right click on it, then select edit.
For working in the file, it’d be better if you clean up the mess it is. That is, separate the commands into several lines. This does not affect the code or the way it functions but makes it easier for us to work.

Towards the end of the text in the file, add –skip-reboot between update and image-sailfish-n2g47e.zip. This command makes sure that the device will not reboot after the flashing is complete.
Now we need to add some commands to make sure the image installs only into the first partition. Below you can see how it looks after adding the commands. Type in the –slot commands in the exact places as shown in the image below.

If you are working on the Pixel XL (codenamed marlin) image file, the image name and the device codename will be different, but everything else is still the same. The same commands need to be placed in the exact same places.
Once the changes are made, save the flash-all.bat file and close the folder.
Do the exact same changes to the flash-all.bat of the Android O image. Except, this time ass –slot_b instead of –slot_a as shown below.

Save it too and exit.
Flash the images
1. To boot your device into bootloader mode Press and hold the power and volume down buttons.
2. Using a USB cable, connect your phone to the PC.
3. Open command prompt and type
4. When the command is executed type
fastboot --slot _b -w
5. Both the partitions on your device are wiped. Now enter the following command
fastboot --set-active=_b
6. Then type
fastboot reboot-bootloader
7. Your phone will now boot into the bootloader again.
8. Close the command prompt window and run the flash-all.bat file from the Android O Developer Preview folder.
9. Next, Run the flash-all.bat from the Android 7.1.2
11. After that, open a new command prompt window and type
fastboot --set-active=_a
type
fastboot reboot-bootloader
fastboot reboot-bootloader
When the phone boots into the bootloader mode again, make sure it says slot “a”.
Install TWRP and Root
1. Boot your Pixel into recovery mode.
2. Now, go to wipe > advanced wipe and check internal storage only, then wipe this partition. Unplug your phone and then plug it back in. You should now be able to access your device’s internal storage.
3. Transfer TWRP RC2 and SuperSU sr4 2.79 Extra Delay to your Pixel/Pixel XL.
4. Next, select Install and then flash the TWRP RC2 recovery.
5. Switch to slot b in TWRP now and then reboot to recovery.
6. When your device boots into recovery now, it should be in slot b. To check this, select Reboot and look at the bottom of the screen.
7. If it says slot b, flash SuperSU SR4 2.79 Extra Delay.
8. Reboot to the system now.
When your Pixel boots up, it should boot right into Android O. So, that was it. You’ve rooted your Device and you’ll see SuperSU in apps. Any queries? Drop a comment, Thanks!
